
 |
| AA has no respect for a fresh paint job. |
Lets face it, war makes everyone involved a little smelly, a little dirty and often leaves nasty chips. But all too often we leave our models painted in stunning and pristine fresh off the line schemes. Sometimes though you just want to add a bit of grit. Here's my tutorial on how I do mine.
First before you touch a brush do a bit of research, and think carefully about what you want to do.
This bit sounds really dull but it is absolutely essential to the whole process, its really easy all you need to do is go to Google and search for damaged paint jobs. Try not to look at other models paint jobs too much, inspiration taken from inspiration can lead to a strange re-representation of what you want to do, i.e. it might look weird, but definitely take note of their technique.
 |
| Think about where the paint has been rubbed off and why. |
 |
| Observe the direction and type of damage. Also look at how the rust runs down the tank and where the rust has gathered. |
Another thing to think about is the way you view your models, most of the time you won't be looking too closely at the model your painting. In fact these 6-7mm scale models will be observed from upwards of three feet away. So don't go overboard on the details as from a distance it'll look busy and untidy. A nice simple scheme will in the end be far more striking than one that is overly complex with many elements.
Now I'll take you through step by step how and why I add wear and tear to my tanks. First here's some before pictures. The colour scheme I chose was inspired by the fantasy of the Martian desert, that vivid red copper oxide of so many comic book series. Mainly though I went with red because its one of my favourite colours.


Stage 1) Paint small black areas where paint is most likely to be chipped. The temptation here could be to go way overboard with the amount of chips and scratches on the tank, but actually less is more. Look at the German Afrika Korps helmet above the paint is worn away at the edges and on the outermost areas of the helmet. The edge of the paintwork is the area most likely to chip first because the paint will be weakest there and the edge of panels get rubbed and touched far more often.
Also think about where on the tank the paint is most likely to get worn away, think about how crew and mechanics crawl all over tanks to fix them or fill ammo bays or whatever so add areas of wear in areas of high traffic. Such as around hatches or engine compartments.
Also Tanks are not the most delicate movers, and in the tight confines of a cover rich environment a tank is likely to scrape against walls or buildings and to get scratches. Here's the areas I chose.
 |
| I kept the chips to the edge of the panels on the tank. Also around the edge of the crew hatch. |
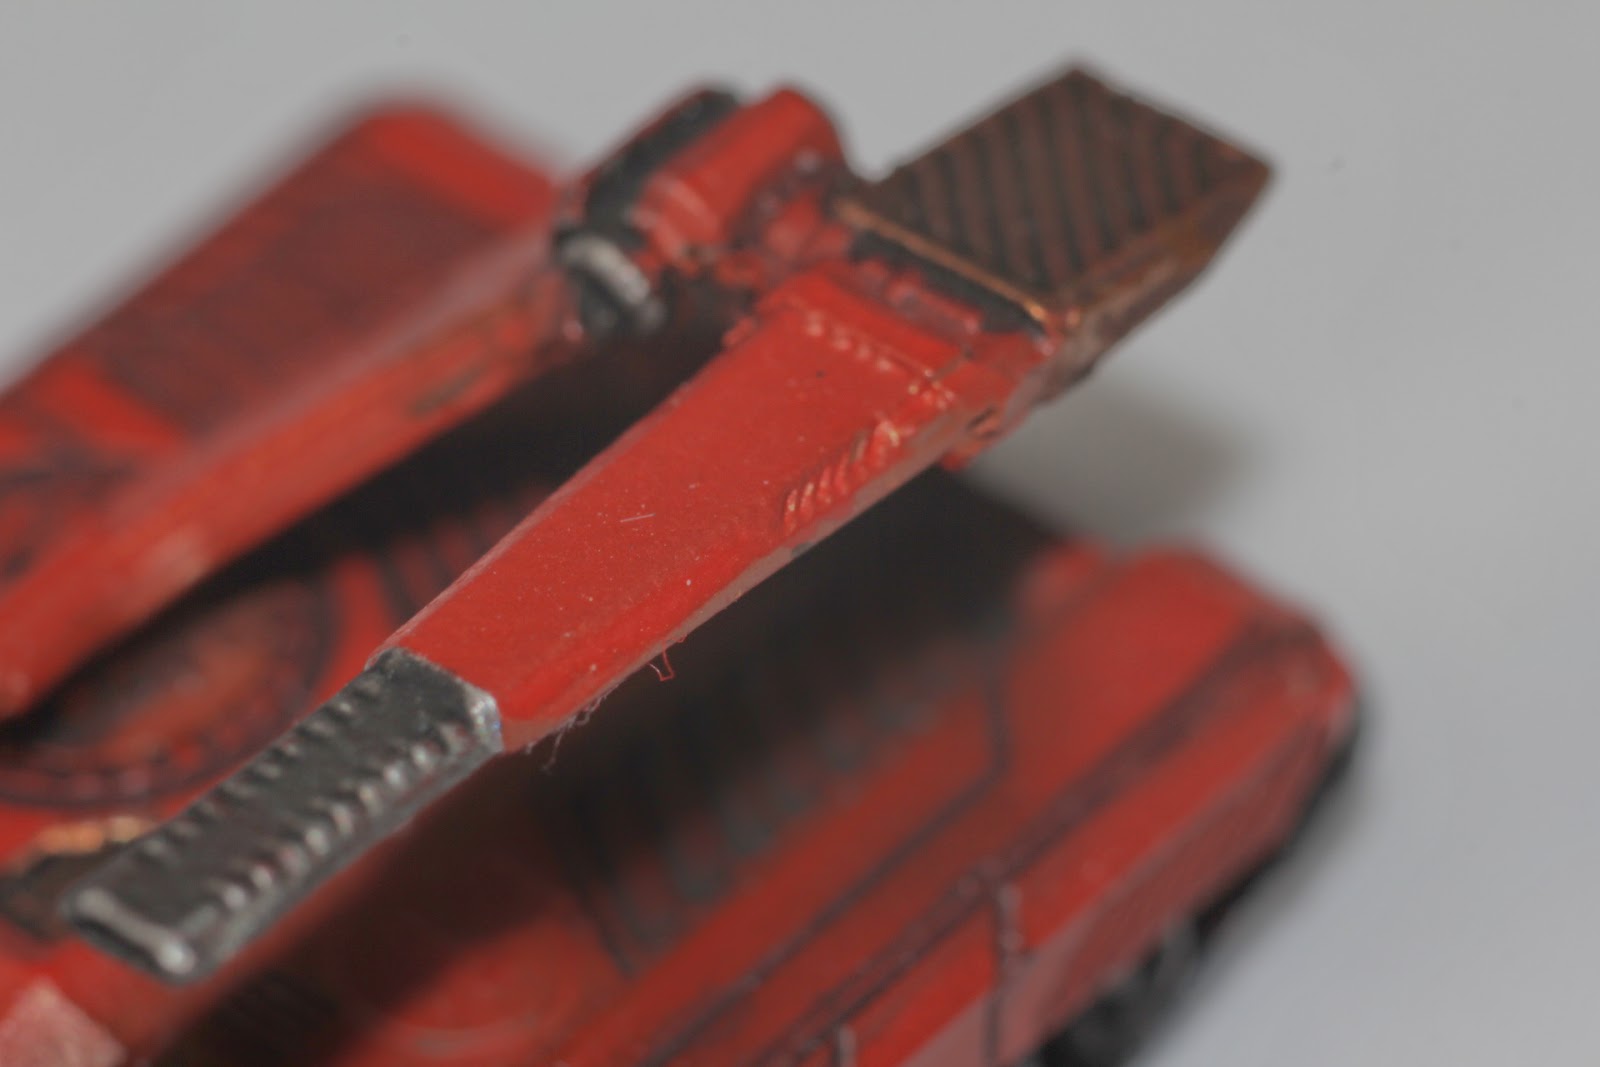
 |
 |
| Scratches on the articulating arm show a scratch either from small arms fire or from an overhanging beam or wall. |
Stage 2) The next stage is to paint a metal colour (usually silver) within those areas of the black chips I've already painted. In the areas where a chip is next to another area of metal make sure the metal colours don't match otherwise that will confuse the eyes. This completes the chips, its important not to have too many stages to this bit as from a distance you won't notice any extra stages.


Stage 3) Mud used to be very difficult to do but then GW released Typhus Corrosion, its fantastic, it has bits of grit in the mixture which when gathered on a brush and put on the model makes a very convincing mud effect on tanks at this scale. Best gathered around the areas on which mud would either gather or get scraped off onto.
Also used without gathering the bits it gives a very good effect of dirt and grease around vents and areas likely to get dirt on them.


Here's a few more pictures of the overall model, plus some other pictures of a Condor I have had painted for while.


On the Condor I painted Typhus Corrosion as oil rather than mud, around panel edges and I also dragged the paint in streaks backwards down the model to give the model some action, as if its in flight.


Anyways, thanks for reading, good luck with yours!
Really nice. Simple and very effective. Should work well on PHR as well. Though for Scourge and Shaltari I don't get the feeling this is as suitable... Any suggestions to the Scourge (who cares about the Shaltari)?
ReplyDeleteI think scourge are a difficult one to weather, their organic stylings are too close to beetle carapace to make a logical comparison with armour plates of the more 'designed' factions like PHR and UCM. Scourge armour looks more 'grown' than designed.
DeleteWhen doing your research maybe look at insects and bugs have damaged carapace. Maybe some sort of diseased look, or leaking pipes to suggest bleeding. Burnt and broken flesh may give you a convincing looking damage.
Also look at the Xenomorphs from the alien franchise and the works of Giger (be warned phallic imagery is Everywhere in his work). Aliens in particular has a lot of ruined and destroyed alien imagery so look at the damage done in those sequences.
These look great. Very well done.
ReplyDelete